

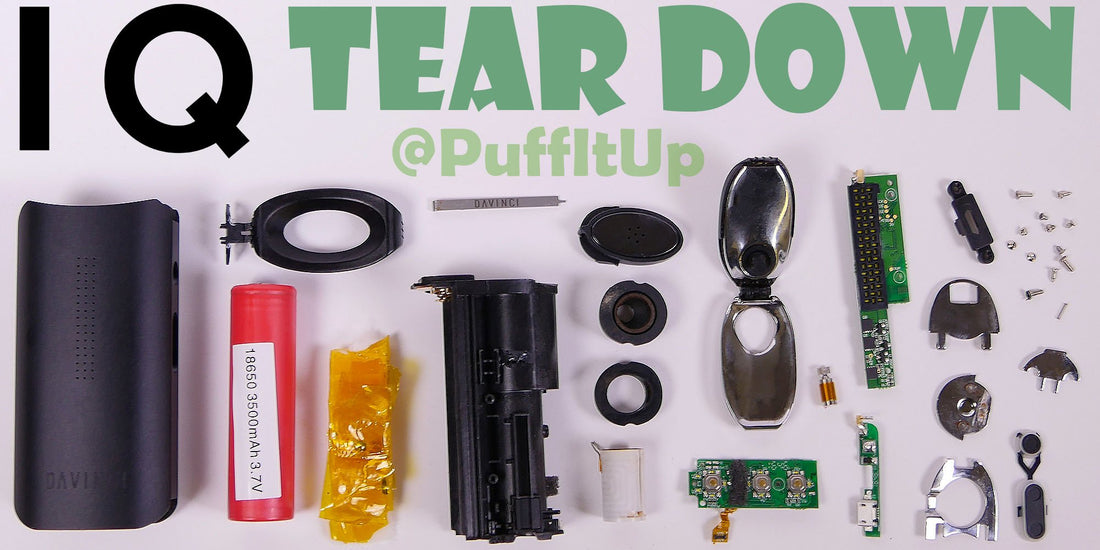
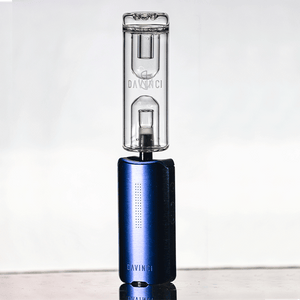
Da Vinci IQ Teardown


First things first
Let's get those replaceable parts out of the way. The IQ has a Panasonic 3500, 3.7 v 18650 battery. There are a lot of 18650's to choose from and Da Vinci picked one of the best. On the higher settings you get about 40 minutes per charge. The poker tool is stainless steel with a small point that fits in the chamber holes; a really convenient feature we'd like to see more often in vape designs. The Flavor Chamber is your airpath for the Da Vinci IQ. The wider tank gives your vapor a chance to cool down before you draw. "Harsh Vapor" is usually harsh because the vapor doesn't have enough time to cool down. The Flavor Chamber is a big reason the IQ has better quality vapor than some other mini vapes.

Taking the Da Vinci IQ apart
We start most Teardowns with no clue what we are doing. Originally I thought the IQ would open up from the bottom, wrong I was. In the flavor chamber port there is a small gap between the chassis and the top cover. Looks Like a good place to start.

Da Vinci IQ top door removal
Yup, the top cover led us to screws that remove the top hinge.

More screws on the battery cover
With such a small vape you can expect some interesting engineering. The battery cover needed to be partially removed in order for the IQ to slide out from the bottom of the aluminum shell or else it will get stuck. 3 screws hold the cover in place and two tiny lil springs internally keep the latch in place.

Sliding it out


The Chassis


The Circuit Boards
The boards themselves are extremely thin. They don't feel cheaply made, just extremely thin. Size is always a consideration when making a vape this small. That sexy LED display looks a lot different now. On the side panel you see the three internal buttons. Some vaporizer internal buttons are plastic and some are metal like these. They almost always look the same, however, from our experience the metal buttons last can last a lot longer than the plastic. The third panel is the micro USB port.

Removing the Bottom cover
Two screws on the bottom of the chassis and out you go. The chamber cover is angled so all your herbs fall into your chamber. Ease of use is an important factor when picking a vaporizer. Da Vinci clearly understands this.

The IQ Chamber
The Da Vinci IQ ceramic chamber is something we have seen before in previous teardowns. This ceramic chamber concept has been around for a while. It's reliable and efficient. There is more insulation around the outside of the chamber than we were expecting. Like all ceramic chambers, there is a silicone cushion above and below the chamber. This adds a nice air tight seal and shock protection if you ever drop your vape. The top cushion also connects to the flavor chamber. Don't forget to clear this area when detailing your vape. Use rubbing alcohol and q tips to clean out this area so you don't get that "dirty vapor" flavor.
The End
There you have it folks. Da Vinci did a great job with this design. The parts are super compact and fit like a glove. The airpath is properly isolated and easy to clean. Every part to this vaporizer is unique except the chamber. Just like the ceramic chamber, the slide-out-chassis is a concept that you see in a lot of vaporizers because it has proven reliable in the past.
A big thanks to the Da Vinci team. It has been a pleasure working with you and we are excited to continue doing so for a long time.
If you like our Teardowns be sure to let us know in the comment section below. If you don't like our teardowns be sure to let us know in the comment section below. Either way we appreciate the feedback.
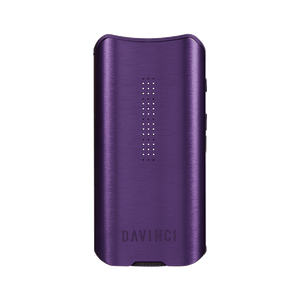
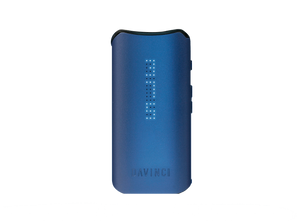
Don't forget to follow us on Instagram, anonymously harass us on Reddit, and of course if you want to buy a Da Vinci IQ go HERE.
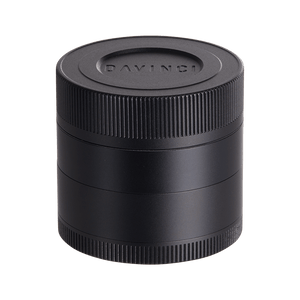
Explore More DaVinci Products
Fits the MIQRO, IQC, and IQ2.
1 comment
This article is great! Thank you so much. I had to disassemble my unit and perform some reparations and I was able to do it non-destructional thanks all these nice pictures.
My battery contact on the bottom, right above the spring snapped off due to long age of the device and repeated stress put on the contact. Bad design by davinci really… I was able to solder on a different contact (just two thick, folded wires, soldered together) and it works great. I also pried up the whole bottom golden plate, so that it creates a little springy action going on.
I have two comments: You do not have to disassemble the top battery hatch to slide the device out, however it does help for first time disassembly when the device is sitting in there super snug, which leads me into my comment two.
I had real (super) hard time sliding the device out, here is how I did it. I took the big metal davinci chamber that follows with the device. Placing it on top, with the tip upward, I held the whole thing firmly in my hand and used hammer to bang on the top of the chamber. Medium force, not too much, just enough for the device to slide out a tiny bit. Then I used various sizes of flat screwdrivers to pull it out from the bottom hinge. Applying force to separate bottom hinge from the outer shell. Turned out one of the heat tapes inside got wrinkled and created resistance.
All and all, my device is now working and I will not have to buy a new one, thank you so much.
#RightToRepair