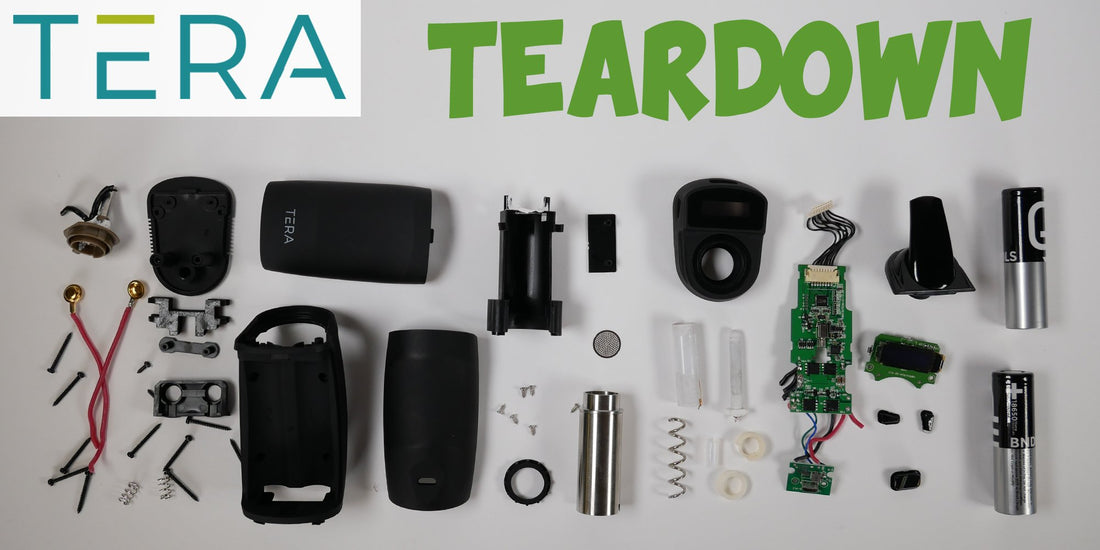
Tera-Down, The Boundless Tera Vaporizer TearDown
Share
Warning: Do not try this with your vaporizer, disassembly is not covered under warranty.

Base Removal
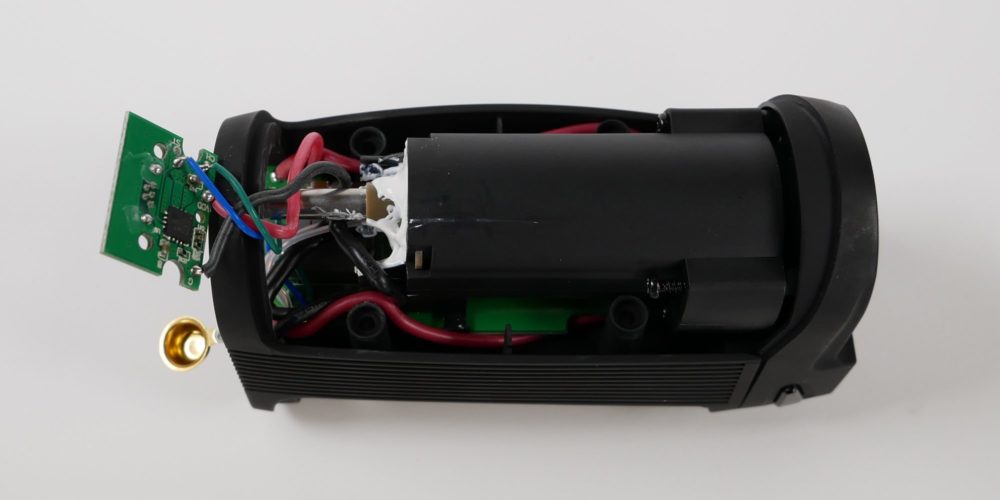
There are four visible screws in the aluminum base plate of the Tera - this will be our starting point. With the screws and bottom plate removed we get our first look at the internals. The brass discs on the left side are the spring loaded negative connection points for the batteries. On the right side you can see the Tera's air intake tube; with the cover in place it is entirely isolated from the rest of the internals.

Side Cover Removal
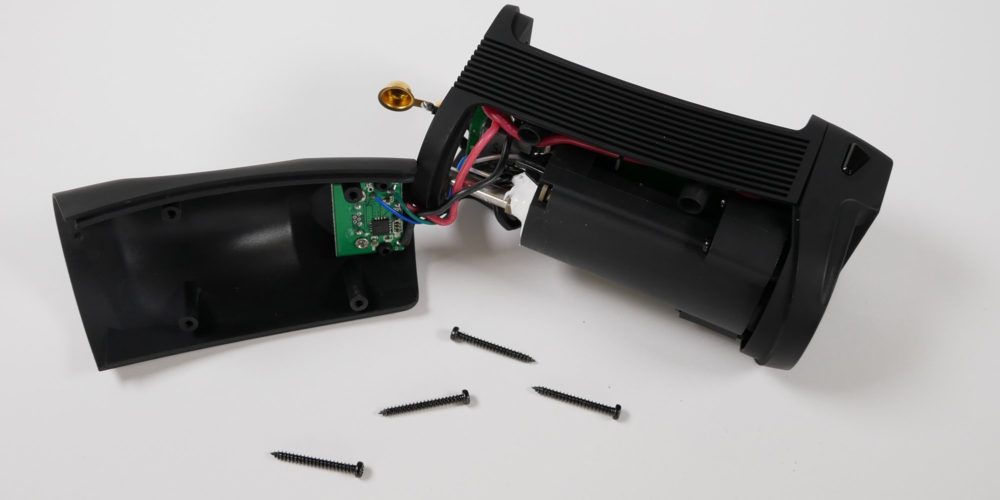
Next to go is the side plate covering the heater side; four more long screws hold this piece in place. With this cover off we can see the Micro-USB charging board and a side view of the isolated airpath tube feeding up into the heater.

Top Plate and Display
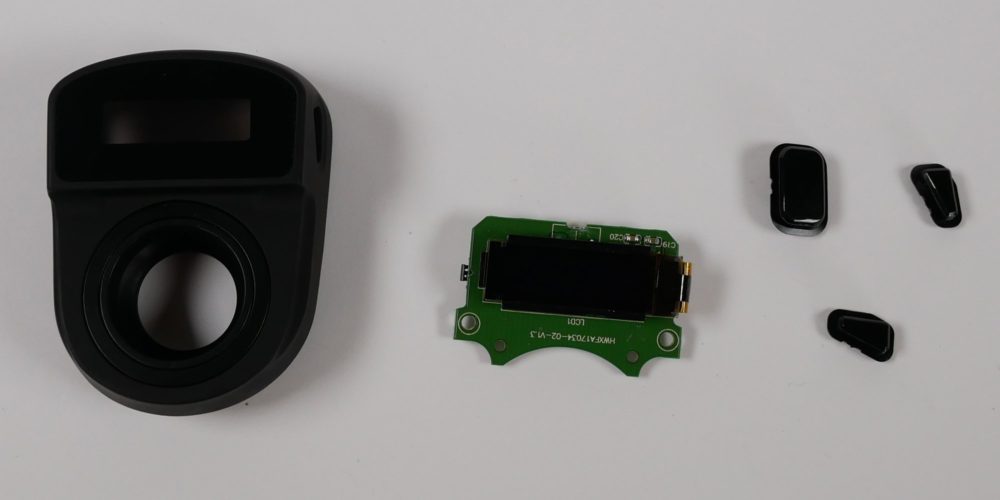
The top plate is secured by two internal screws and has openings for the loading chamber, display and buttons. The middle piece is the Tera's OLED display panel that connects to the main circuit board with an 8 cable connection harness. (seen below)

Circuit Boards and Connections
The large circuit board is the brains of the Tera, controlling and regulating function from the Micro-USB port, display, heater, battery, buttons and everything else within the unit. The wiring is thick gauge and the connection points all look cleanly attached.


Isolated Airpath and Chamber
The steel tube at the base of the Tera connects directly from the heater to the exterior of the unit, completely isolating if from the other internals. Air travels in the base of the unit, through the heater and out the stainless steel loading chamber.

Heater Removal
Next up is the heater; in the top picture you can see the entire heating assembly including the power and temperature sensor wires and thermal putty. We assume the thermal putty is meant to protect the connection points from heat and to help keep heat from escaping through the base. With the base piece removed and wires cut we now have access to the full heater assembly.

Heating Element Disassembled
The heater consists of a ceramic rod heating element surrounded by a metal spiral with a small sleeve of teflon (PTFE) between the two. The heating element is contained within the larger ceramic tube that connects to the loading chamber. Air is heated by the ceramic rod as it travels up the spiral path and through the diffused plate below the loading chamber. Unlike previous Boundless vapes the Tera is entirely convection, the loading chamber itself isn't heated.
